You can create inventory labels for the items you sell in your Realtor® store that can be quickly scanned by a bar code reader. With all the various signs and forms your store sells, it’s easy to manually select the wrong charge code. Using inventory labels in conjunction with a wand-style bar code reader will greatly reduce the incidence of errors.
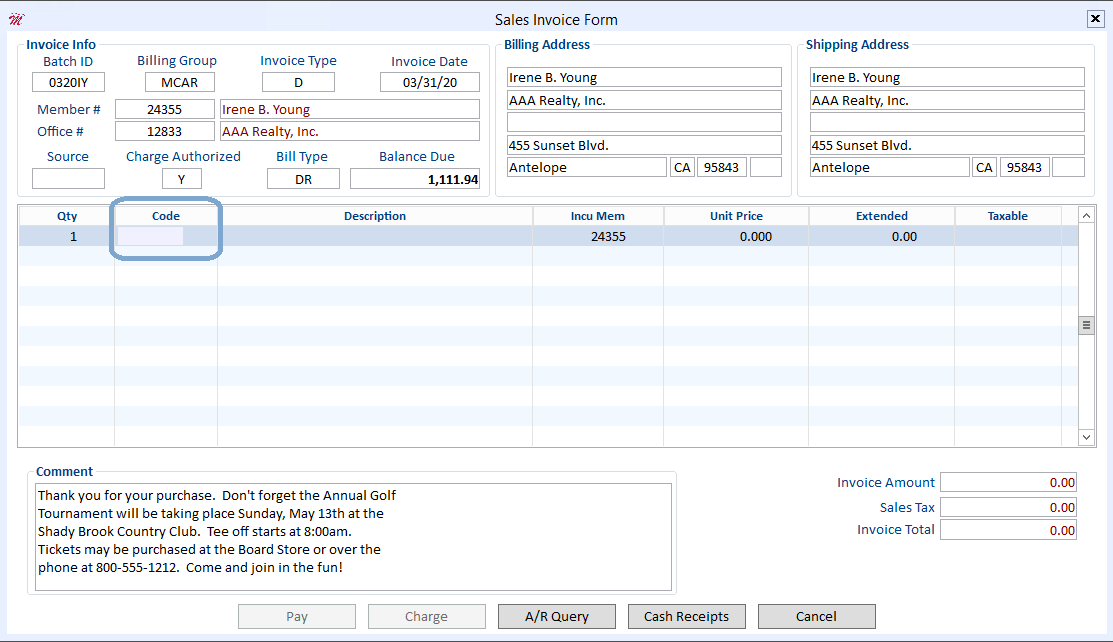
Inventory labels work with the Rapattoni point-of-sale program, allowing your staff to easily and efficiently enter charge code data into the Code field on the Sales Invoice Form. Just place your cursor in the Code field and then scan the item’s bar code
Inventory labels are easily created using the Inventory Merge program in Cloud AMS and a Microsoft Word template supplied by Rapattoni.
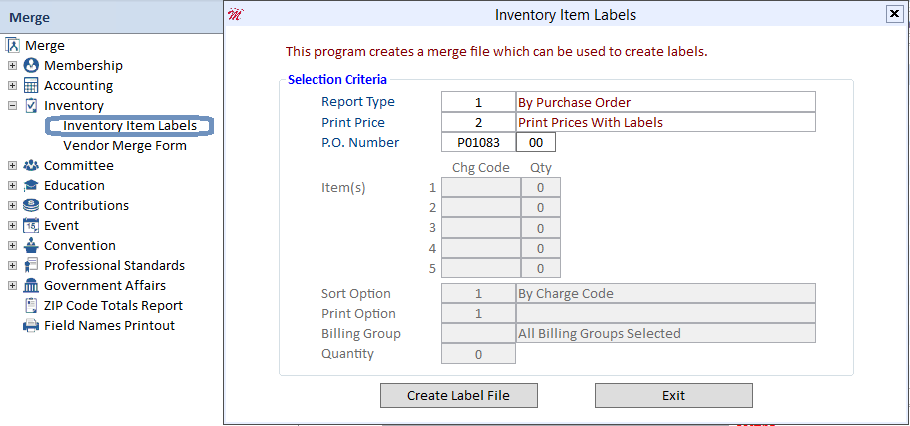
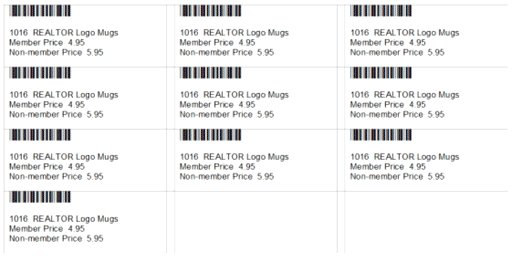
This merge can be run using Report Type 1 (By Purchase Order), which generates bar code labels based on the P.O. number entered. It can also be run with Report Type 2 (By Item), which allows you to enter specific inventory item charge codes to print. You may choose to include prices on the labels shown in the example above or select no prices.
The Inventory Items Labels Merge creates a _label.doc file which can then be merged into the Rapattoni-provided Microsoft Word label template called ^inv_lbl.doc.
Important Note:
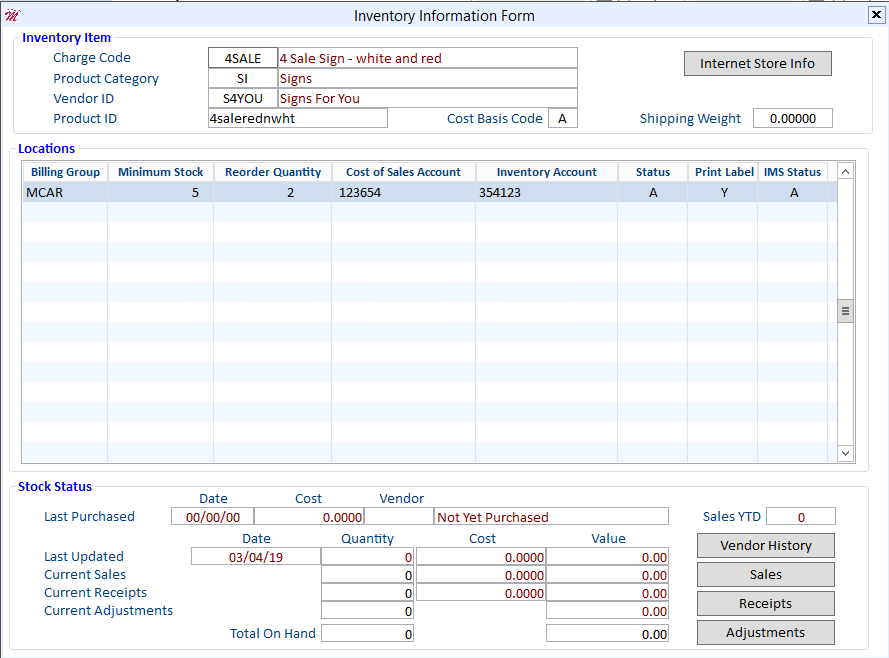
It is necessary to set the Print Label field to “Y” on the Inventory Information Form for the inventory items that you would like to print, as shown below.